| Home | Newsletter | Locations | Diary |
|
Indexes |
|
|
|
Article Monochrome
enlarger the black area in the negatives show no light while the clear areas show light. The paper areas exposed to the white light, having been put in the development bath, turning black increasingly over time, and the print is then put in a stop wash, then into a fixer that dissolves the remaining surface material that has not gone black and stabilises the images. Partial light, shows as greys in many tones, reversed in the negative and reversed again to produce a positive image in the print. Most film had a tonal range designed to capture the full range of grey tones, although some more specialist film used in printing, art and for some other uses had a much higher contrast producing just black and white, with no grey tones. Photographic printing papers had a range of contrasts, allowing you to look at a negative and pick a paper that would work best to show the right contrast and full range of grey tones. Later mass produced black and white photos used a single middle grade of paper, which often lacked the punch, as well as often loosing detail in the highlights and shadows, that was possible to get from a professional darkroom with the ability to better get the print exposure right and use the correct contrast paper. In the darkroom we could edit the images as
they were being printed by
dodging and burning,
I have been talking in the past tense, as chemical or wet photography is no longer common place. However film is still made, and photographic enlargers, paper and chemicals are still available. At one time it appeared that none would be, but it has had a reawakening, often with people who did not do it historically enjoying the craft side of making an image. There is a magical sense when you see an image appear in front of you on a piece of paper put into the developer bath, everything you have been seeing reversed put back the right way. Having spent hundreds of hours in the darkroom, and produced thousands of prints this way, I can say that few who have done a lot of this would want to go back from digital into the wet crafts. If you want to have a go yourself then find a local photography club, its likely they will have a darkroom members can use.
Images produced with camera and film, can be
enhanced using coloured filters to change the relative contrasts and tones
of different colours. See
Monochrome effect filters.
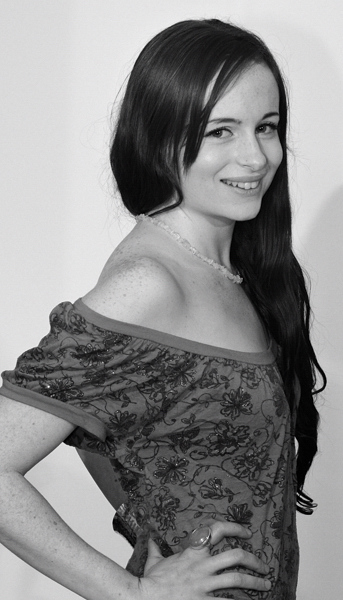
Producing Digital Monochrome Images There are two routes each made up of several paths allowing you to produce monochrome images starting with your digital camera. The in camera route involves using the camera settings to take a monochrome image, while the alternative route is to start with a colour photo and produce a monochrome image in editing. With either route,
as with negative photography, images can be enhanced using coloured
filters to change the relative contrasts and tones of different colours. See
Monochrome effect filters, With many of the Nikon cameras you can set the image to take in monochrome, defining the colour and shade, plus add digital filter effects if you wish. If taken as RAW images, these images as well as being monochrome images, can be switched back after to colour images, plus you can change the colour filter values about after the event. You can also take images in colour and later with Capture NX2 produce monochrome effects and apply filters in several ways, giving a range of effects, that can be used on their own or in combination. Many other top range cameras of other makes will have similar capabilities.
The choice to produce it in camera or later,
is a great benefit. Any image we have, in editing, we can convert to a
monochrome image and apply filter effects, and adjust these. I would suggest
that producing it in camera has the benefit of allowing you to see and
control the image you are capturing, so the image is made at the point the
image is captured, and you can see exactly what effect you are having,
capturing your interpretation of the scene, often combining other filters
such as a
graduated ND.
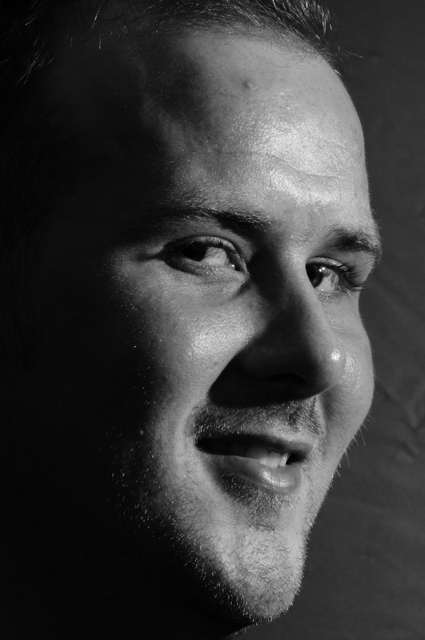
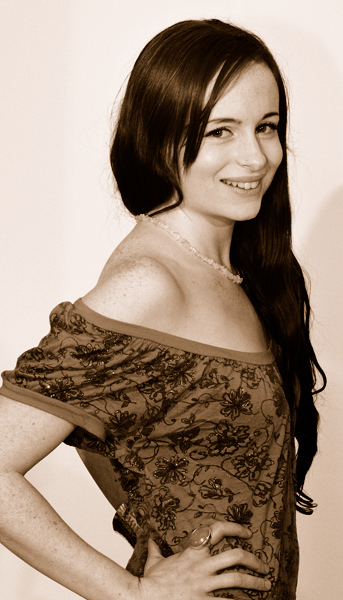
Monochrome Images in the Studio Light and shadow plays an important part in all photography, but with monochrome images, the lighting is far more noticeable.
See Also:
Creating Vintage Images - Old Look Photos
|
|||||||||||||
|
|||||||||||||
| . | |||||||||||||
|
|||||||||||||
|
|
|||||||||||||