| Home | Newsletter | Locations | Diary |
|
Indexes |
|
|
|
|
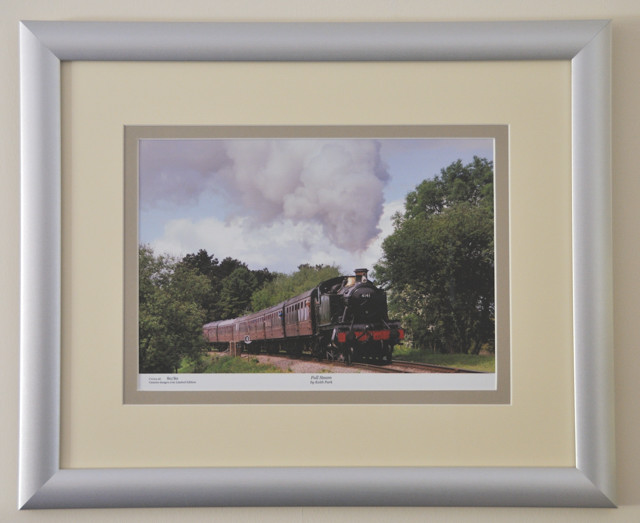
Article Picture Framing and Mounting
However, picture framing can be undertaken fairly simply by buying in ready made frames and mounting images and can be undertaken at a wide variety of levels up to a professional framing shop. Once you have your photo and you have printed it out how do you go about framing. Well there are a number of options available to you. 1. You can go along to any hobby shop, gift shop or shop in the high street and buy a bulk standard frame to the dimensions you require. These frames normally come complete with the frame, glass, backing board and hanging arrangement. They come in a wide range of sizes, styles and prices and some of the larger sizes may also come with a mount board inside that you can use as a border. this is the quickest method of framing, but not necessarily the best for your photo. 2. You could take your photograph along to a professional framer, there are many in local towns and city high streets and get their advice and help on how to show off your work to its full potential. They can make suggestions, show you a wide range of different mouldings and mount board and give you quotations for various options that you could use, and once you have decided which you like best then they will make up the frame and mount it for you. 3. Alternatively you could decide to frame and mount it yourself. This has a couple of options in that you can go along to your local hobby shop and choose a frame moulding, mount board, backing board, and glass and then go home and frame up the photo yourself. Or you could take a bit more time and find a framing shop supplier where you can get the individual components and put it all together yourself. 4. Full framing workshop. A small number of you may want to go far further with specialist equipment and in effect creating your own professional framing workshop. It may be that you do this from a profit viewpoint or may be you just want to maintain total quality control right through the final product. This is the option we choose but is unlikely to be the one many of you will want and is outside the content of the rest of this article. So let's start by looking at the basic components needed for framing and mounting, which are:
The Frame. The component parts of the frame is called the moulding, which can be wood, aluminium and even made of resin based materials made to look like wood or aluminium. Moulding can be bought, from hobby and high street framings shops in a differing array of styles, shapes and sizes already made up or from framing suppliers, it can be bought in long lengths which you have to cut to size or it can be bought via a 'Chop' service which means the frame moulding supplier cuts and mitres the moulding to the dimensions you require and you then have to pin the pieces together. Mitring is cutting at 45 degree angle so that the pieces join together to form the corners of the frame.
Mount board. This is heavy paper board from which mounts are cut. It is usually made up of a card back, has an acid-free core and a coloured paper top. In its regular form the coloured paper on the top can be acidic and in some cases the colour can run. However it also comes in various other qualities such as acid-free, 100 percent rag, preservation and conservation quality and a multitude of colours. The main difference with using mount board over normal card, is it is thicker and the core also comes in white, cream or black so that when it is bevel cut this colour adds to the overall presentation of your photograph. I explain bevel cuts below. Backing Board. This is the piece of board used in the back of the frame to hold the glass, photograph and mount board in place. It is normally held in place with flexi points. Although called backing board, again it can come in various forms from MDF, hardboard, pulp board or special types of cardboard. There are also self adhesive backing boards which has one side already prepared to attach the photograph and the mount board to make sure it stays in place. The MDF and hardboard versions can usually be bought to standard sizes from hobby shops and usually combined with the glass. The other specialist types would need to be sourced from a framing supplier and comes in large sheets that you need to cut down to size. Hanging Systems. Take a look at any of the ready made frames in your local high street and you will usually find the smaller frames supplied with a strut back support which allows the frame to stand up when on a table. Larger frames from hanging on the wall usually come with a whole array of different types of hanging supplies positioned in various places to allow it to be hung upright or landscape, and these work on the basis that you will hang it straight onto a nail or screw on your wall. If you go for the pre-made frame moulding then you will need to also purchase a system for hanging, and the local hobby shop may have the screw eye system where you screw the eye loop into the moulding and then use cord or wire to create a hanger for putting on the wall. There are other types available from framing suppliers, from the screw-eye system to an adjustable system to security based systems. Tools Required. For doing your own one off framing even if you take the 'chop service' route and get in the pieces to make up yourself, does not require any complicated tools. It can all be done using hand tools and you can attain the quality that you want. For example if you take the route of buying in supplies from your local hobby shop, you need a mount board cutter, which can cost as little as £30, a flexipoint driver costing around £48, a bradawl/twirler for putting in small holes for the hanging system and a screwdriver. Mounting Once you have decided on how you are going to go about getting your frame then it is necessary to look at how to mount it to get the best optical view of it. If your photograph has been printed on gloss paper, then consider using one of the glass types which has non-reflective properties to cut down the potential glare. Once this decision is made then its time to look at the mount board. The mountboard is used to frame your picture, it puts a spacer between the photograph and the frame, but also if chosen right can add to the overall impact of the final presentation. Mount board comes in a variety of different colours and in single sided sheets.
Once the mount board has been cut then the next task is to attach the photograph. Now this can be done in a number of ways. You can attach the photo to the back of the mount board using tape or glue around the edges, or if you have decided to use the self adhesive backing board then you can mount the photograph on there first and then the mount board over top to make a sandwich. To complete the mounting process you carry out the following operations:-
Flexipoints are like small tacks that press into the frame moulding holding the backing board etc in place. Which ever method you decide to use to mount your photos, and whatever level you want to go to there is something out there to suit your needs. Hopefully this has given you something to think about and by understanding the process even if you take the option of going to a picture framer to get the job done, you now have enough knowledge of the process to help you discuss your requirements with them. Links to Framing Suppliers
|
||||||||||
|
||||||||||
|
|